Well, obviously not keeping up with my Blog. The Holidays always do a number on my time management skills (which as I age deteriorate regularly).
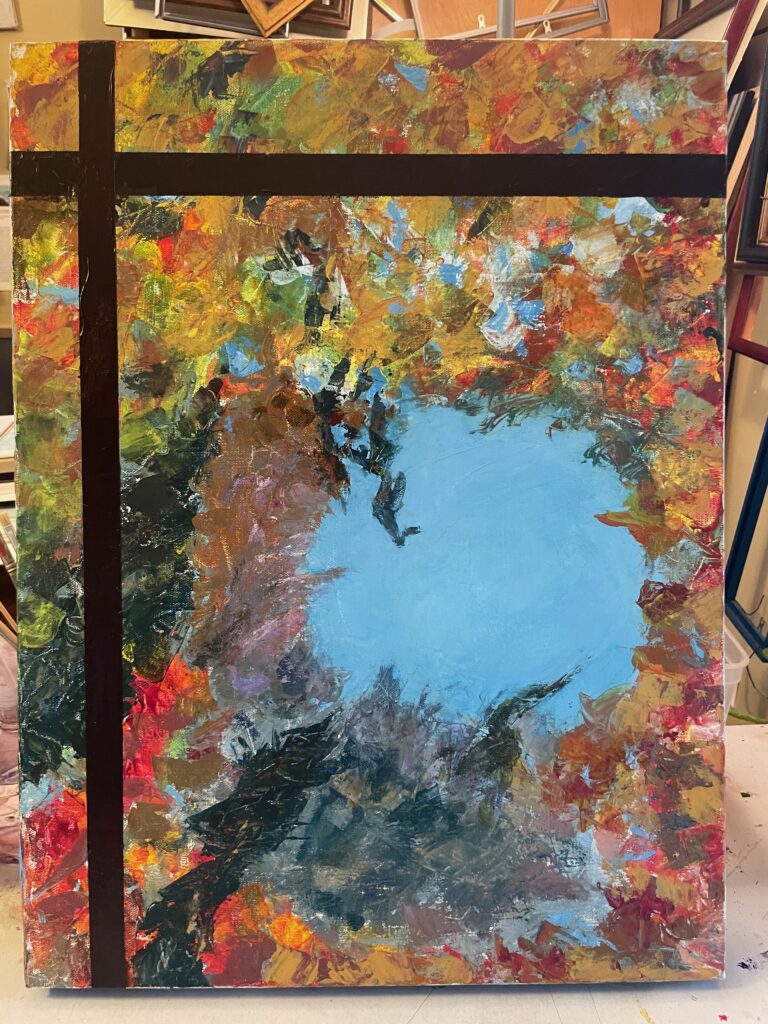
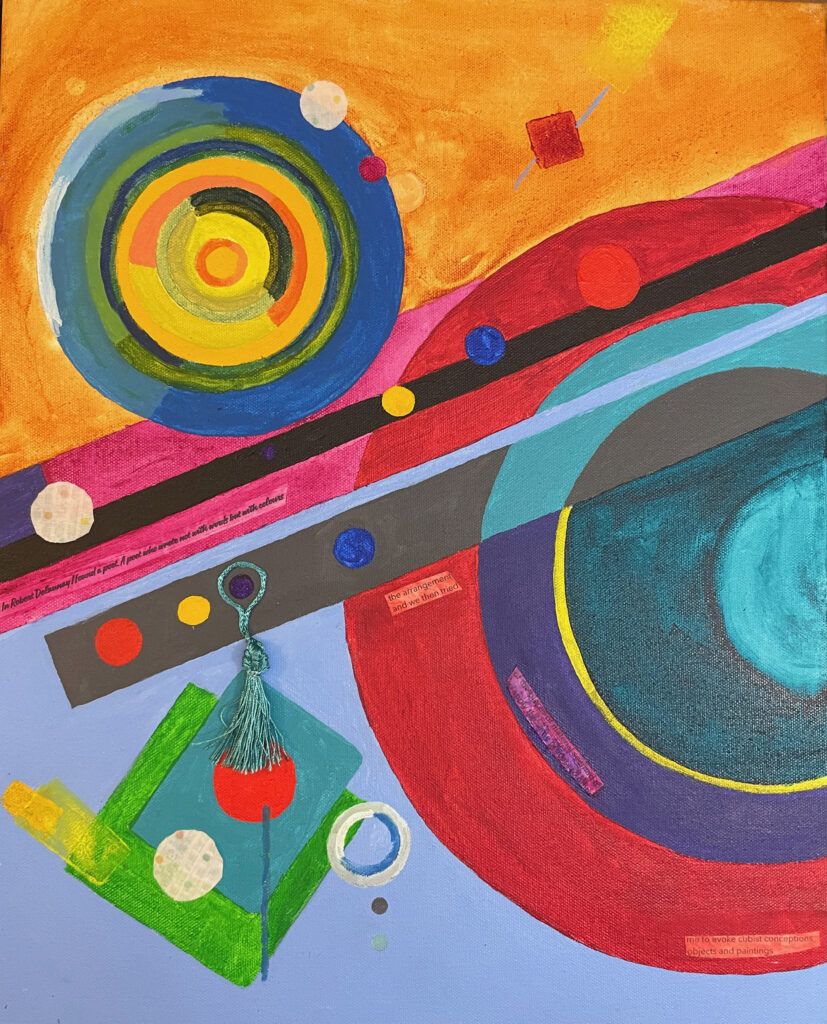
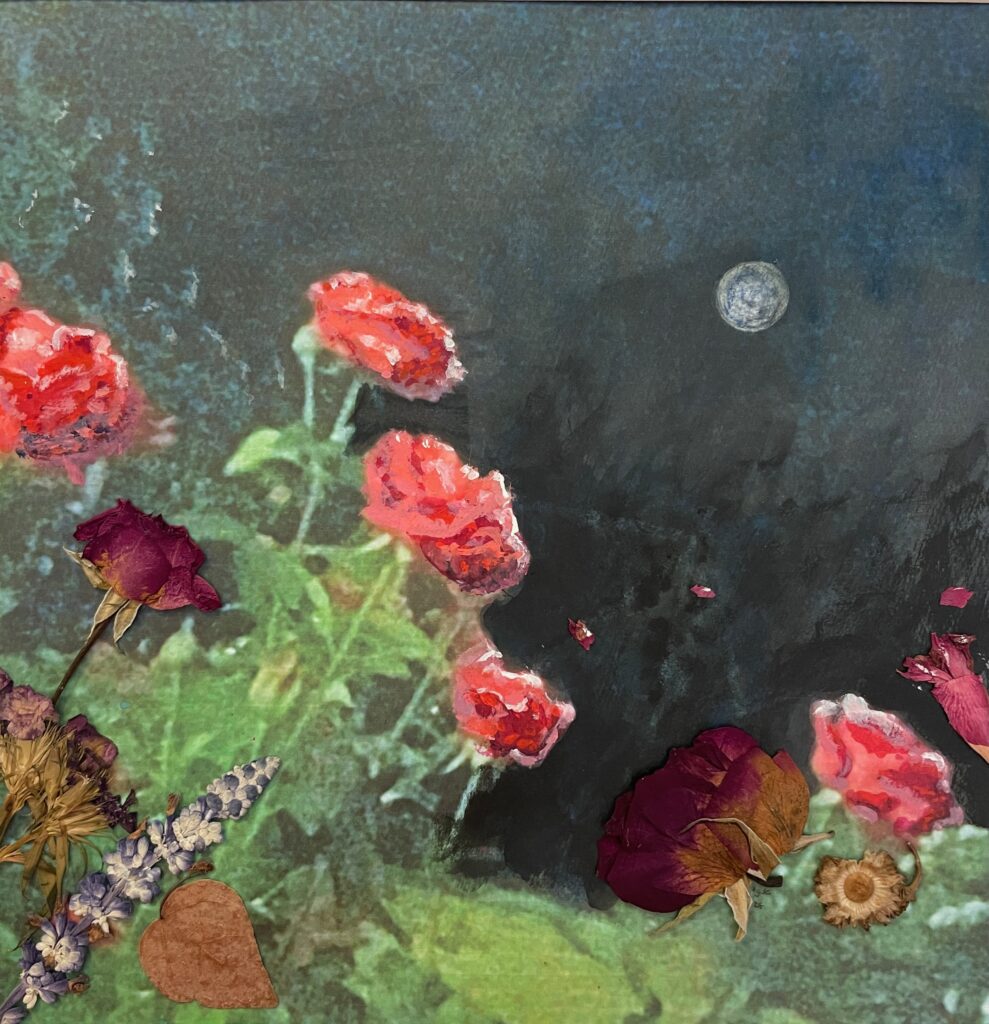
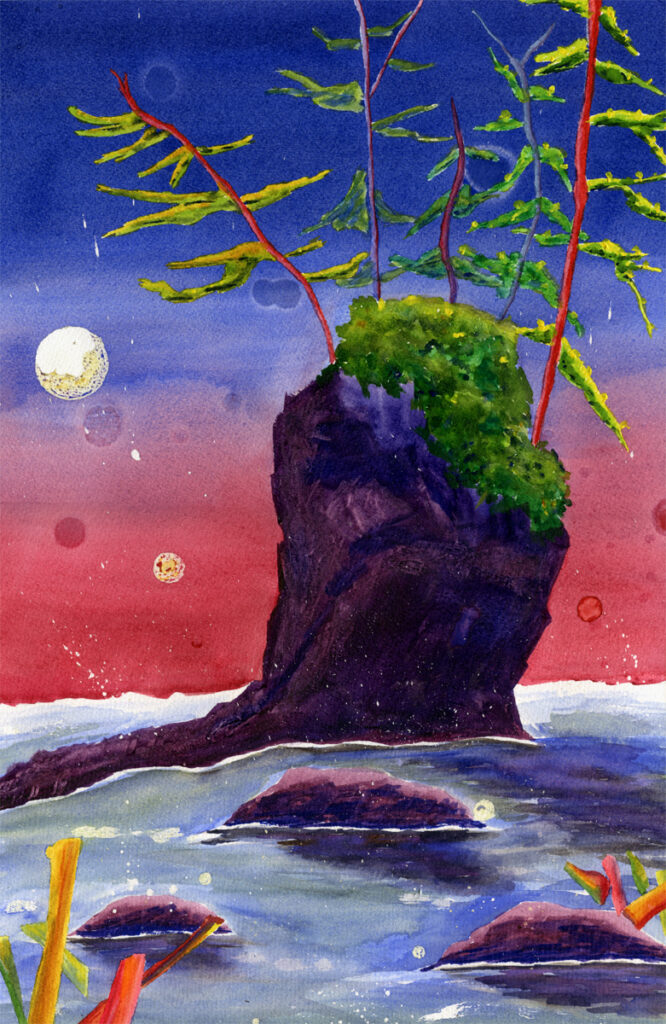
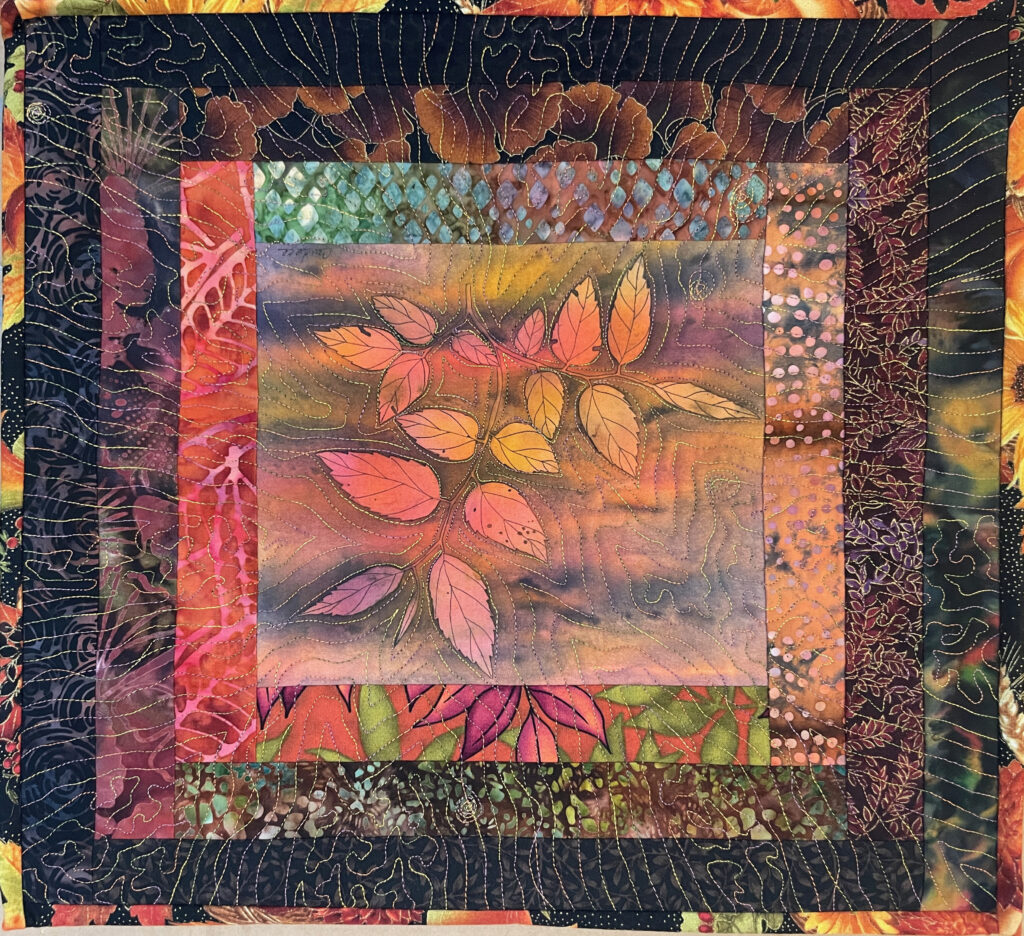
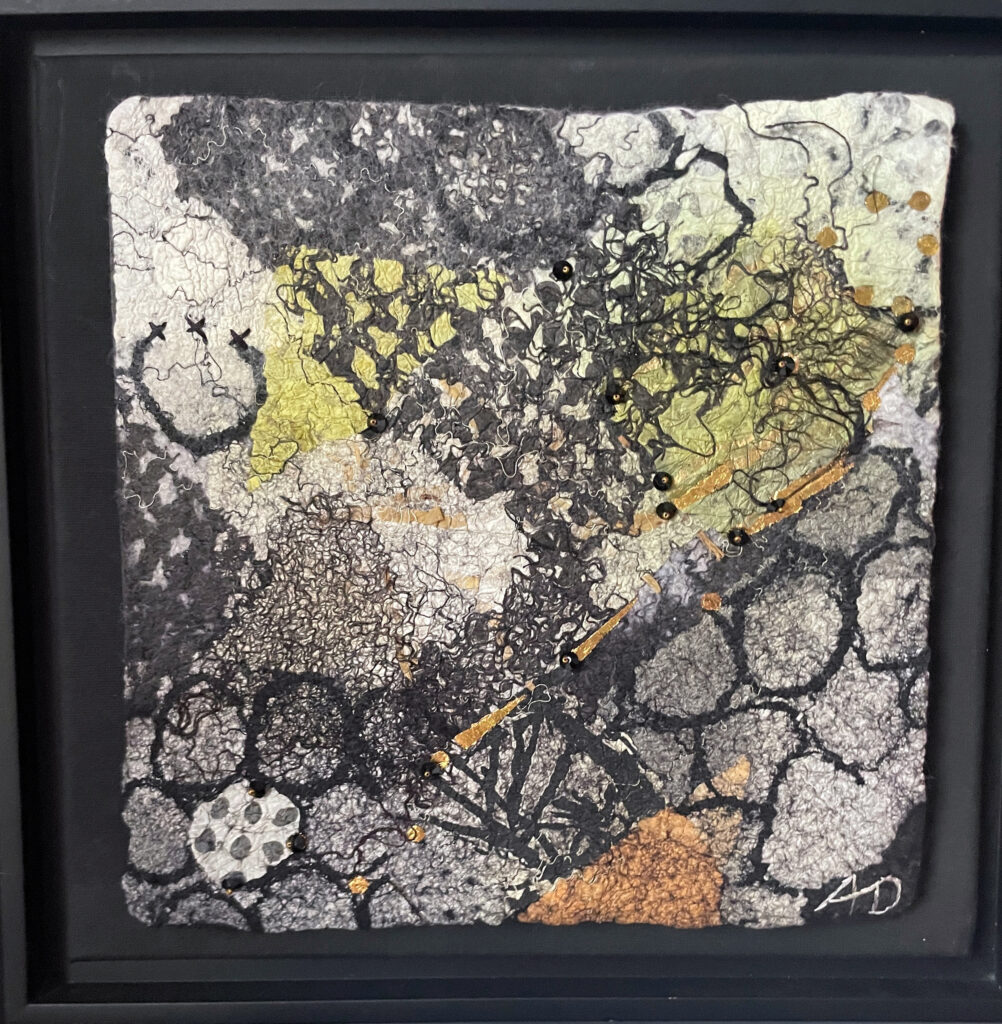
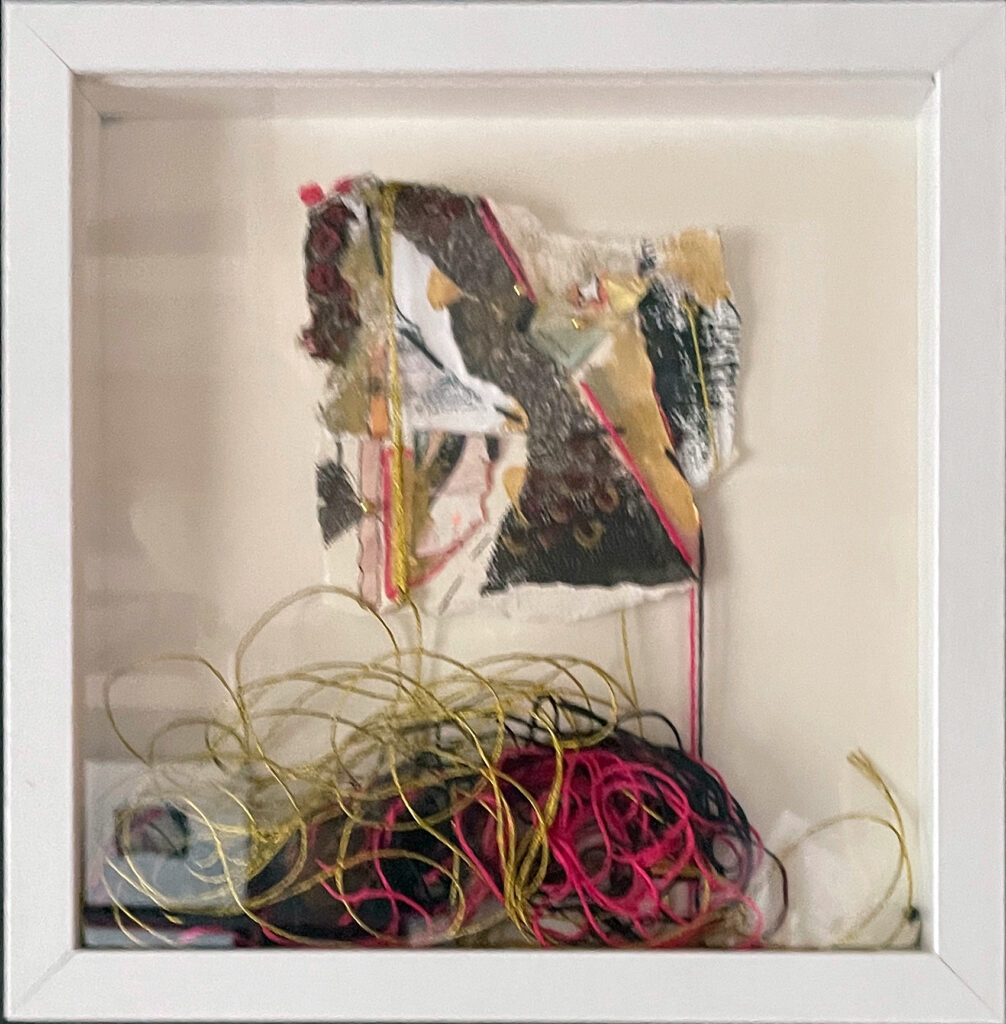
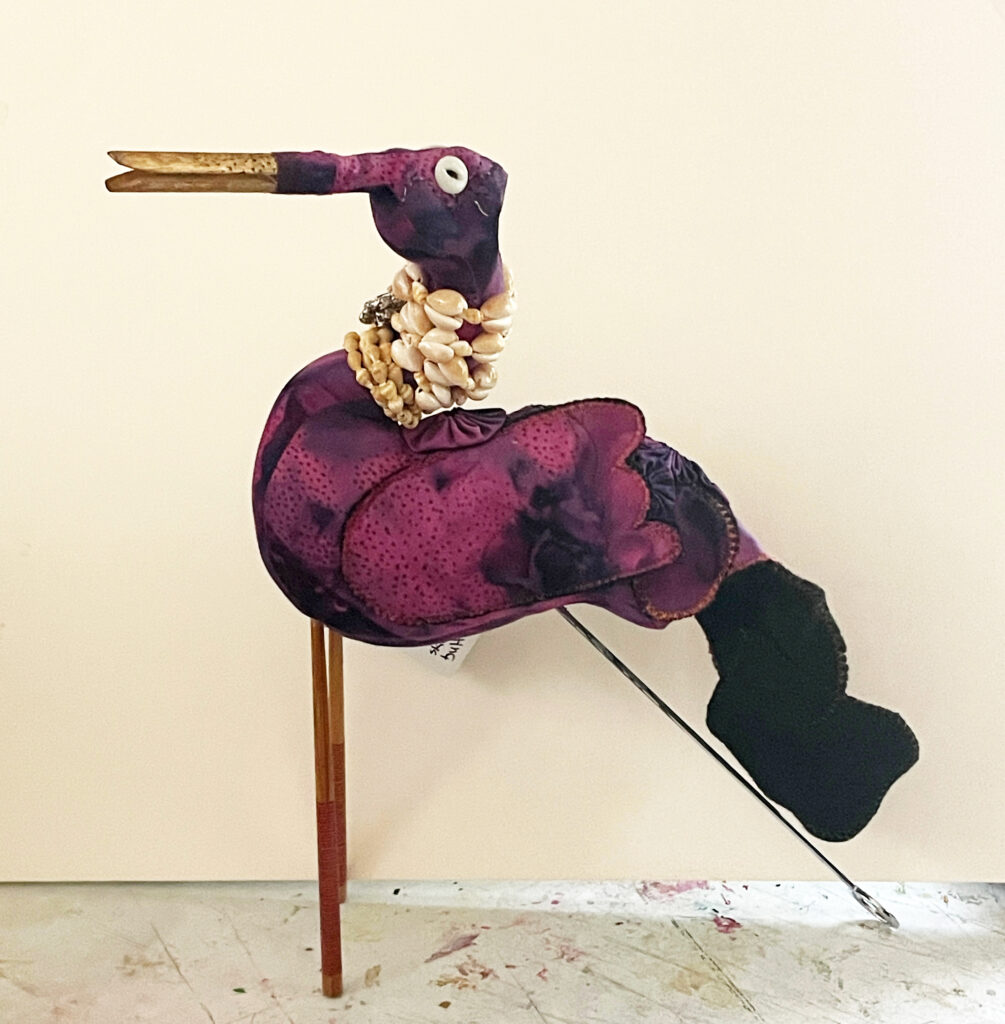
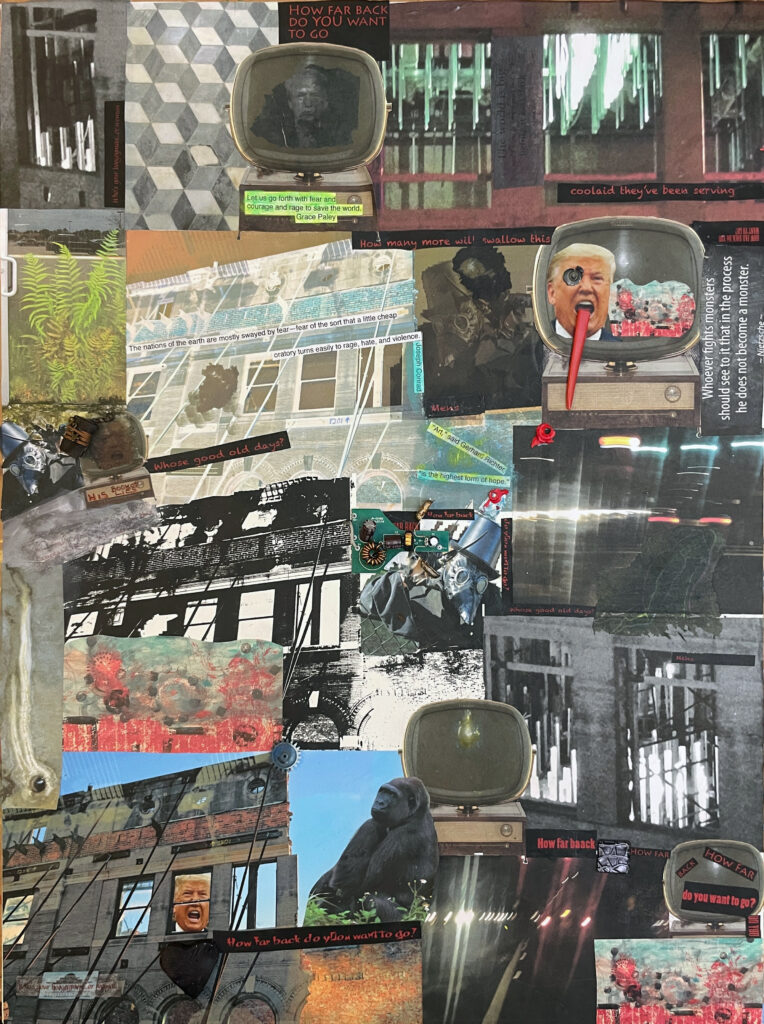
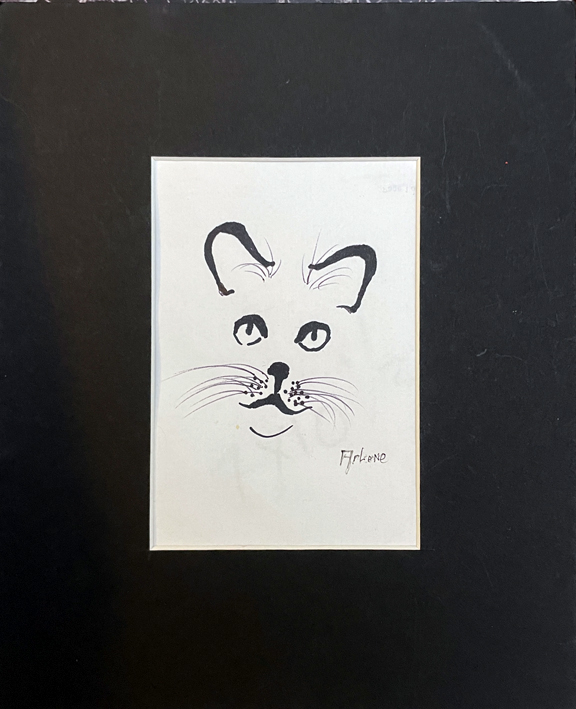
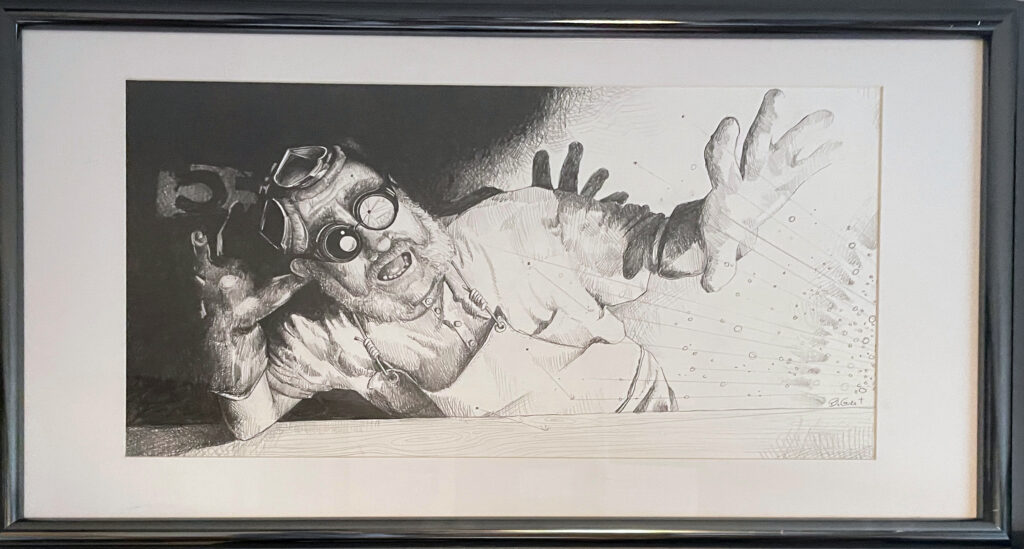
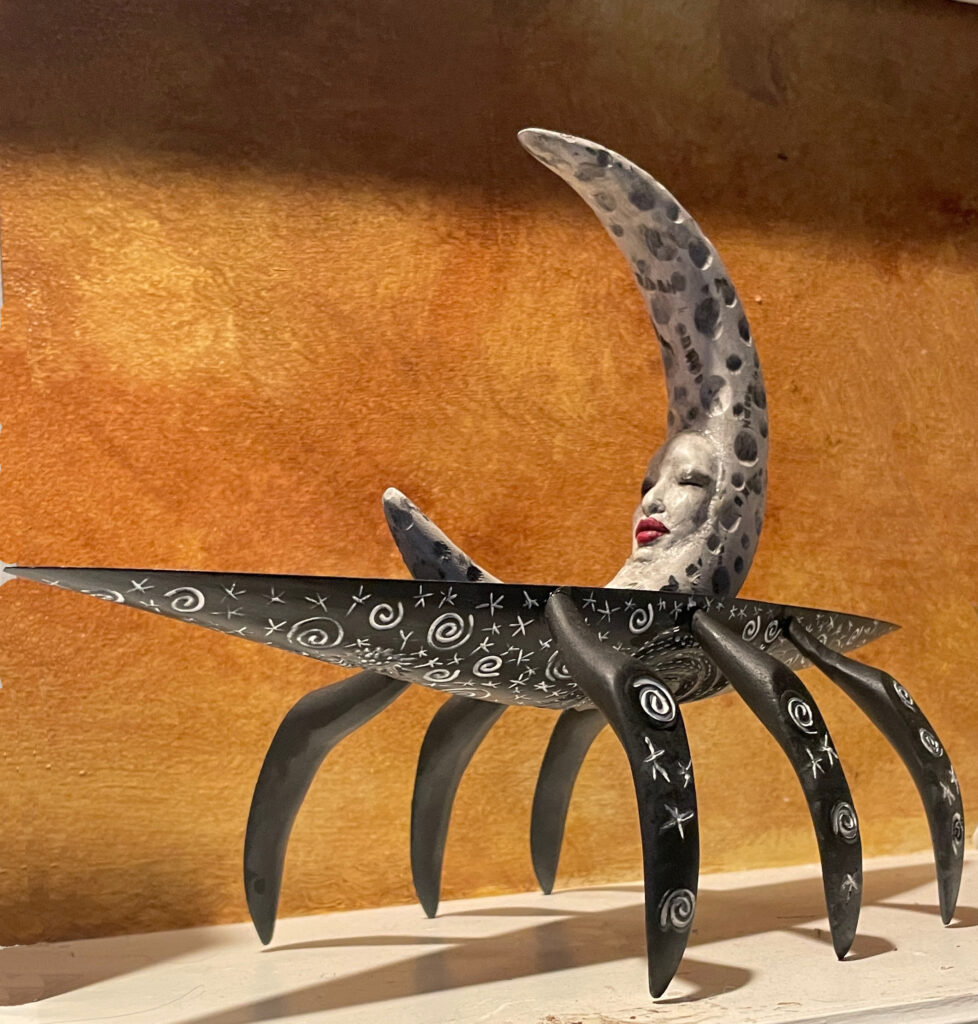
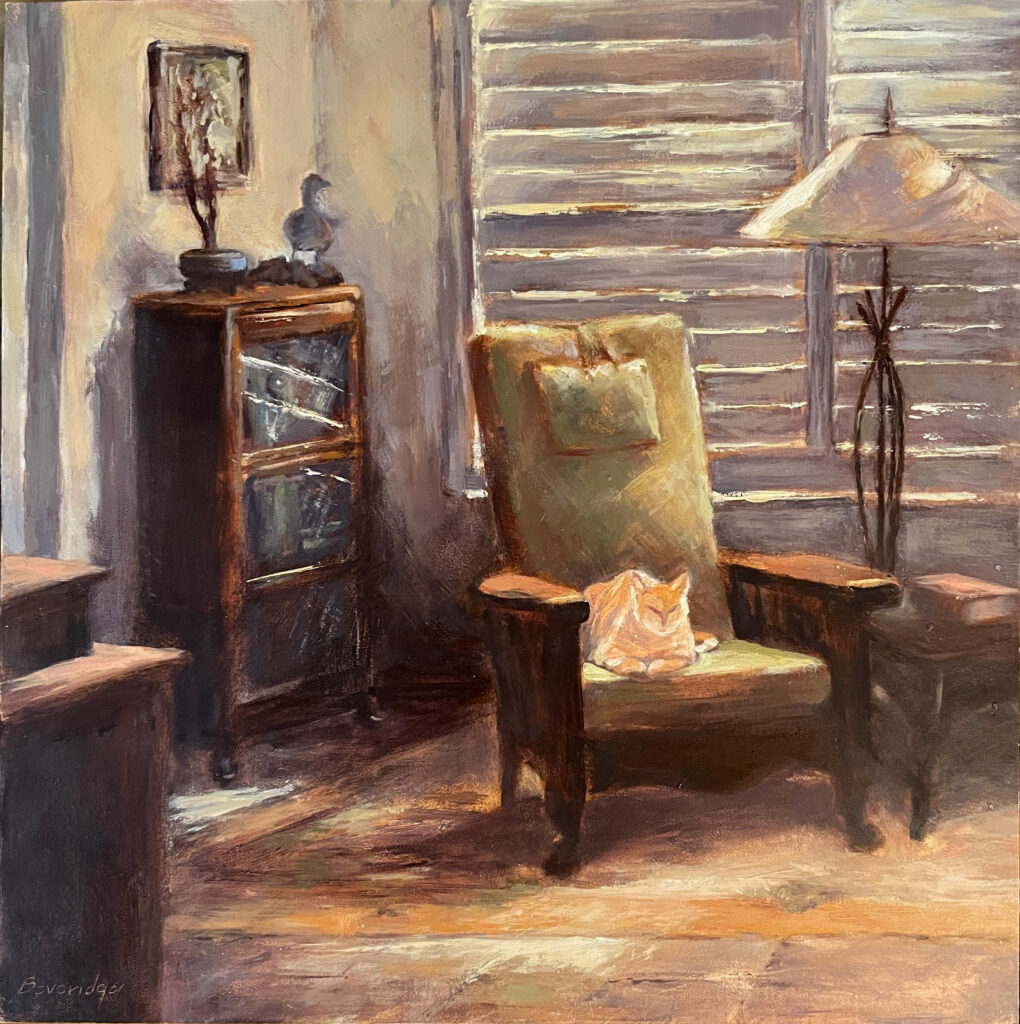
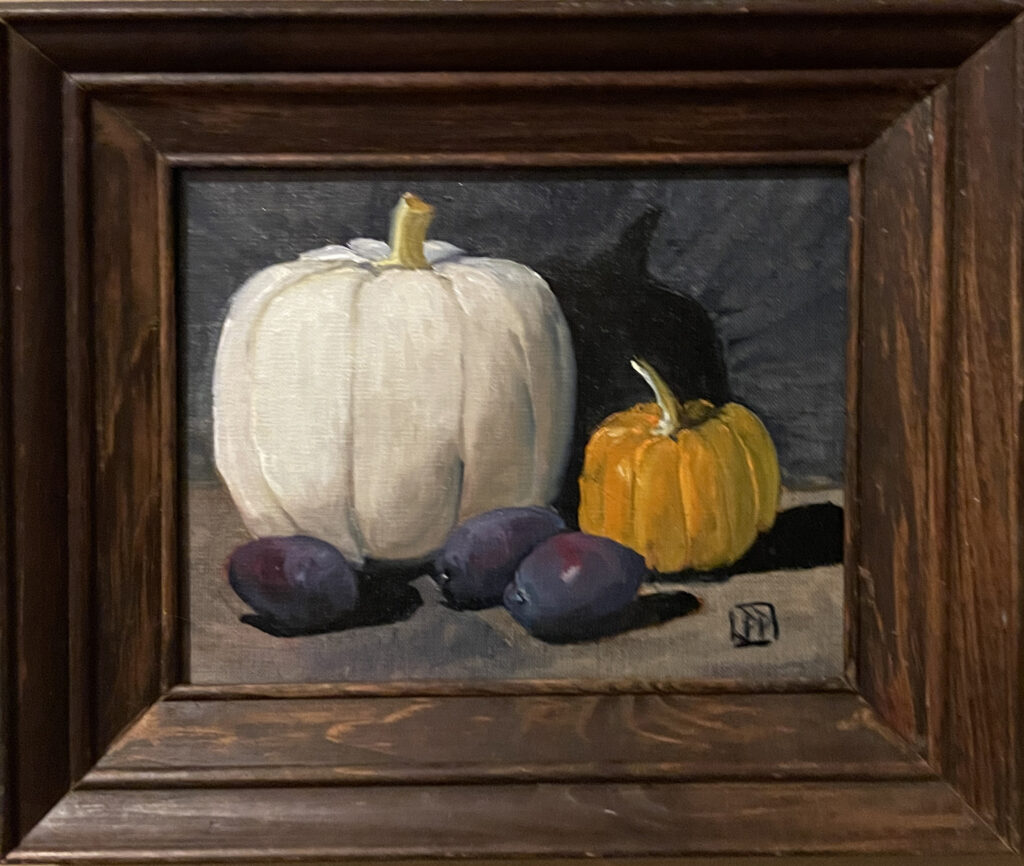
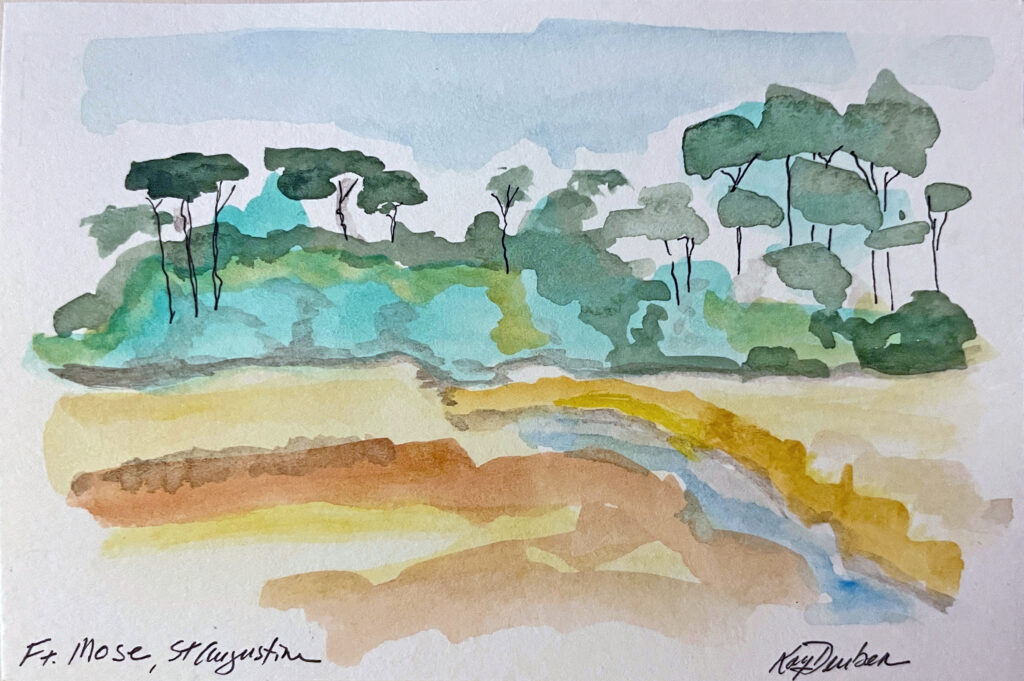
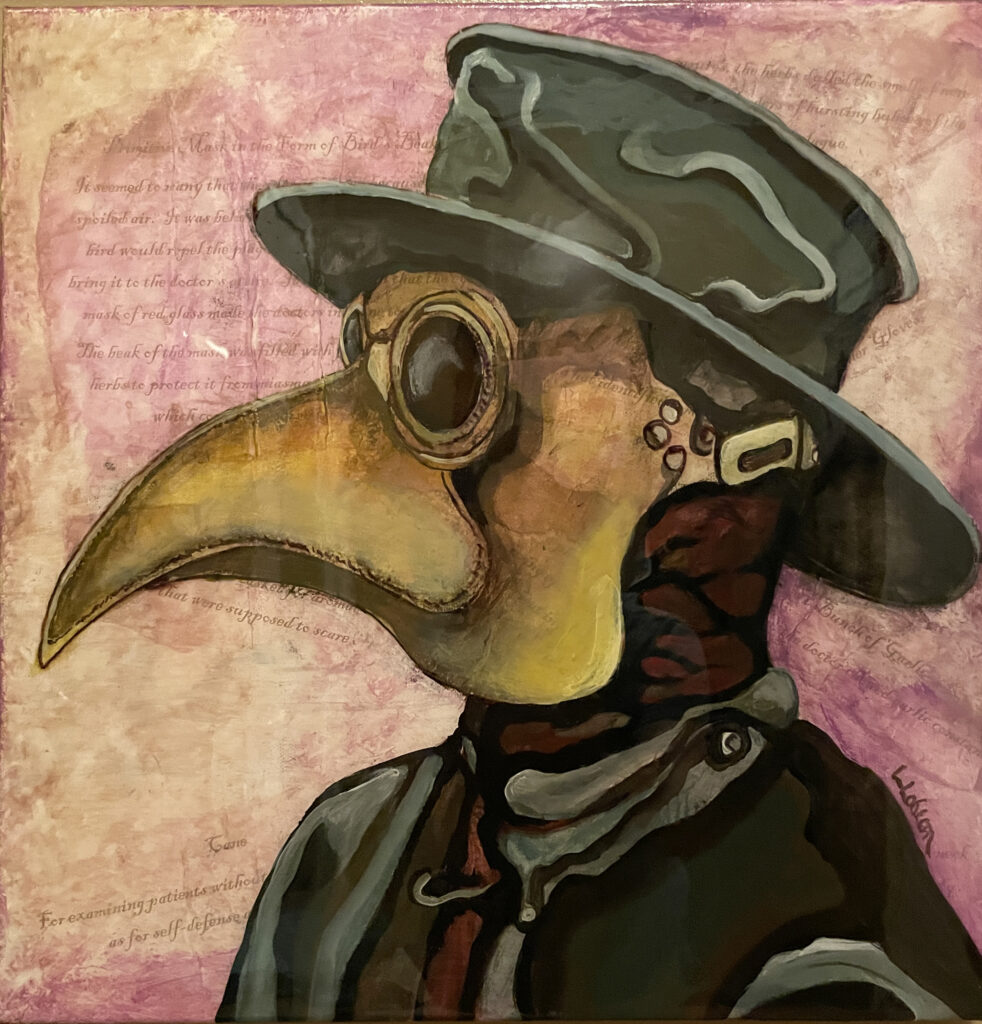
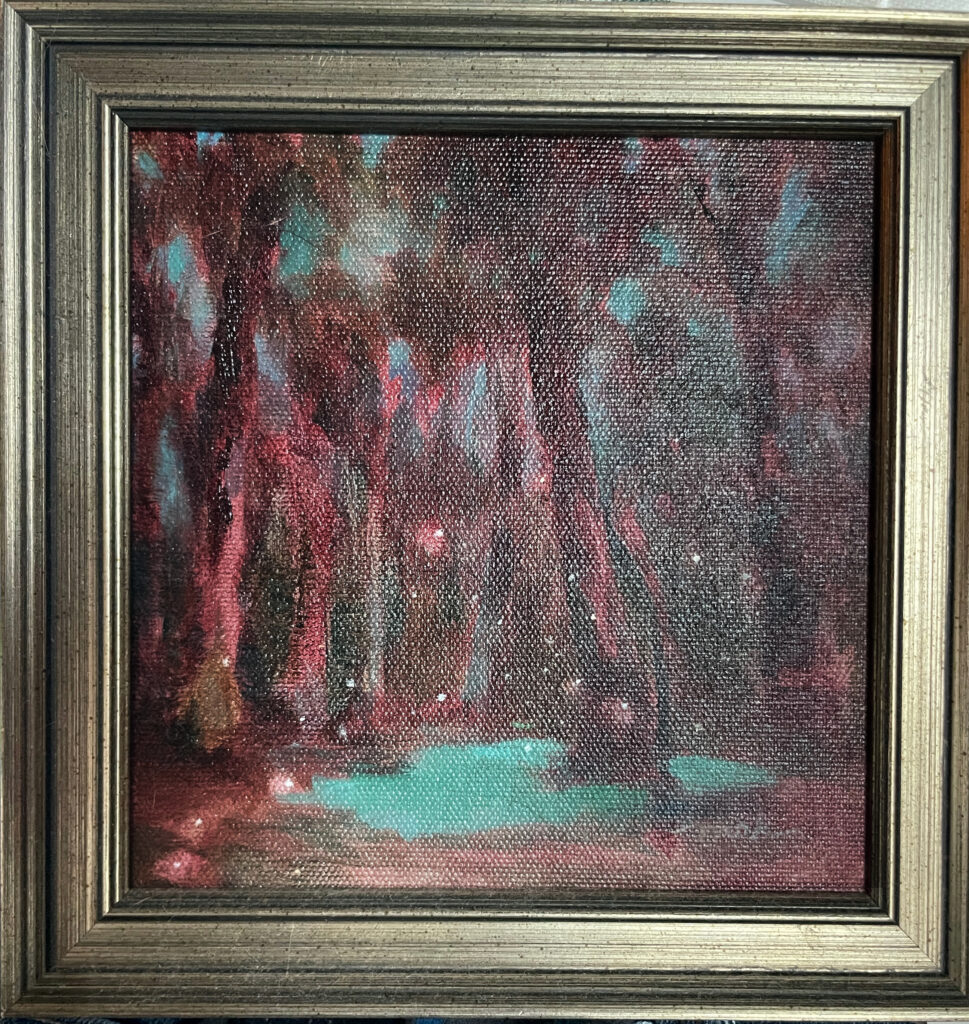
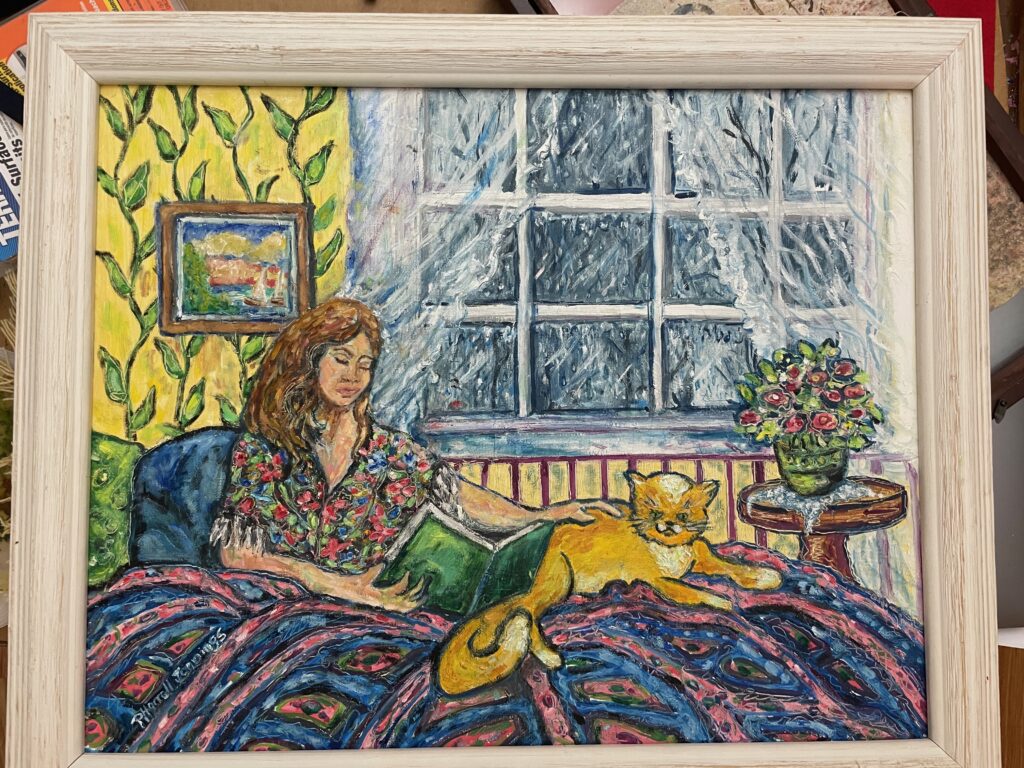
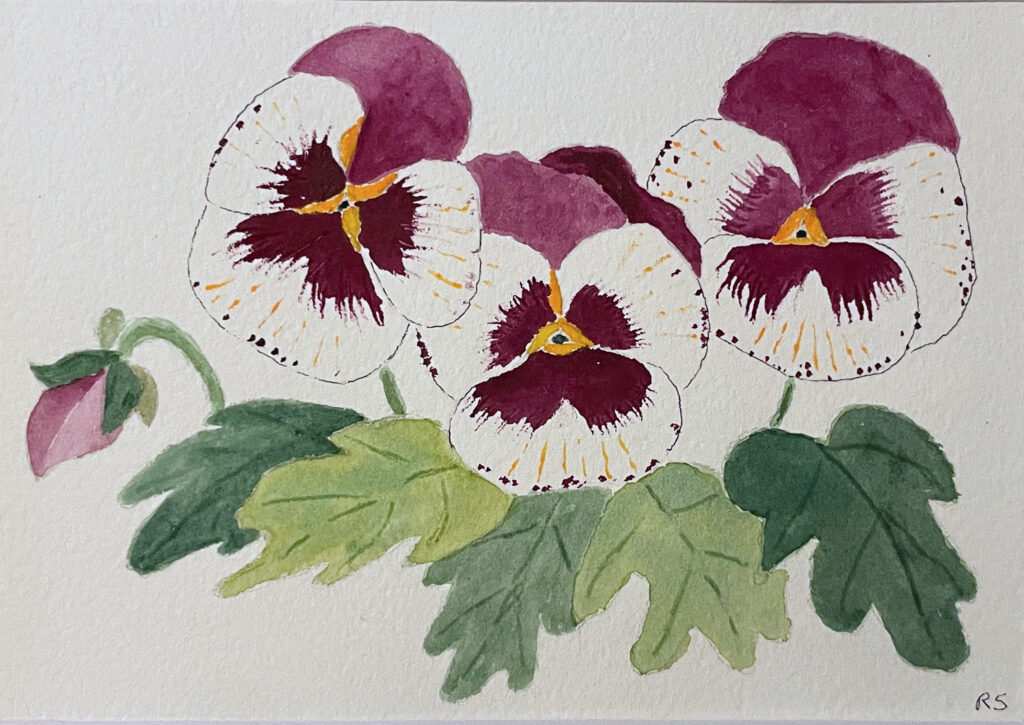
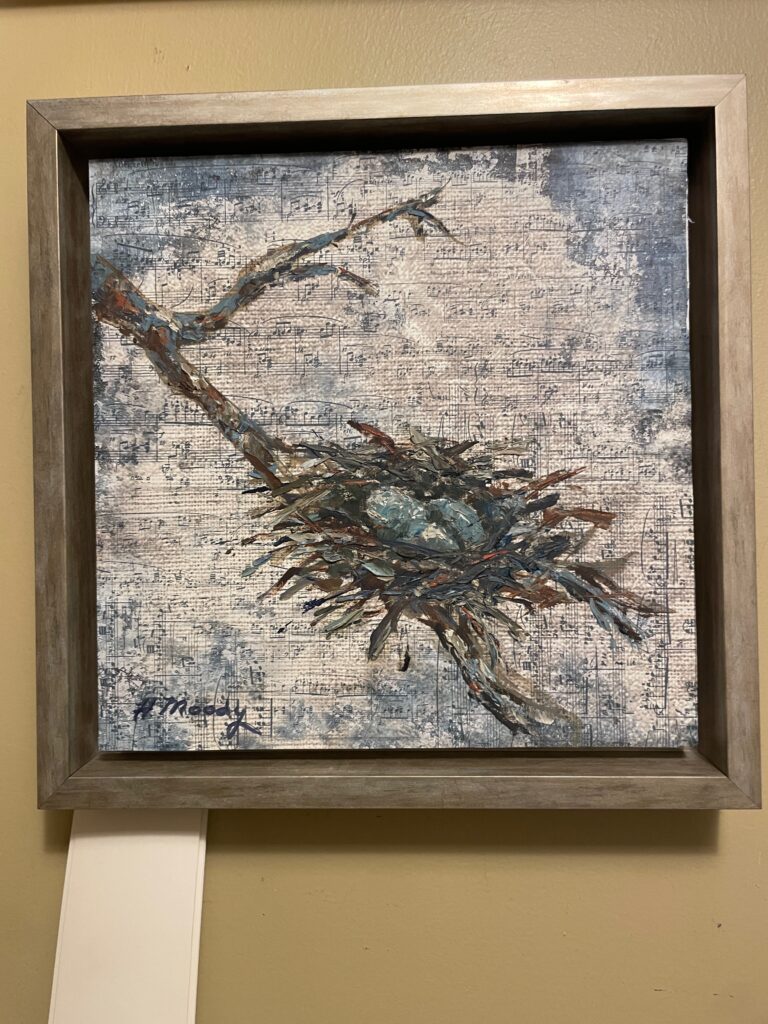
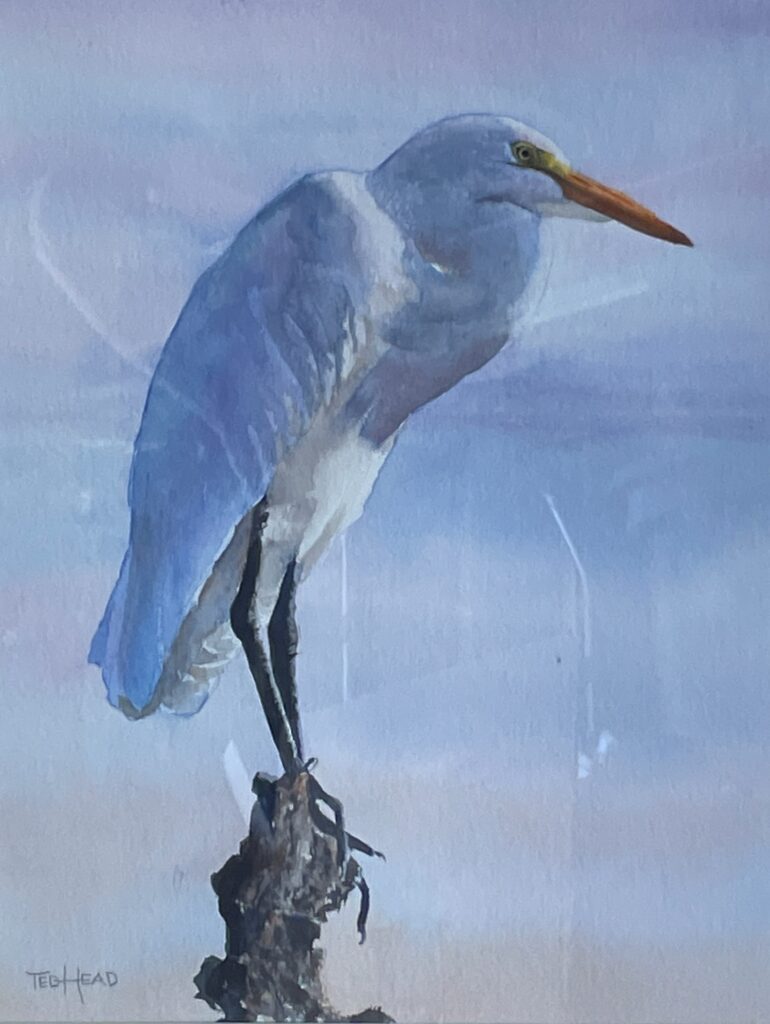
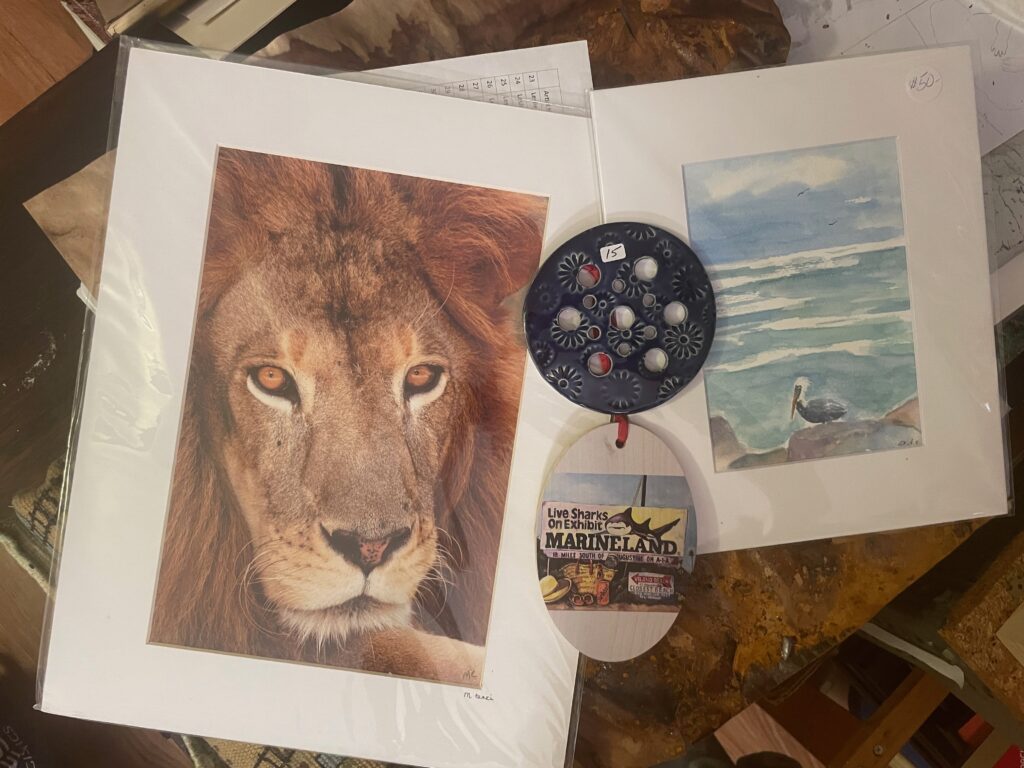
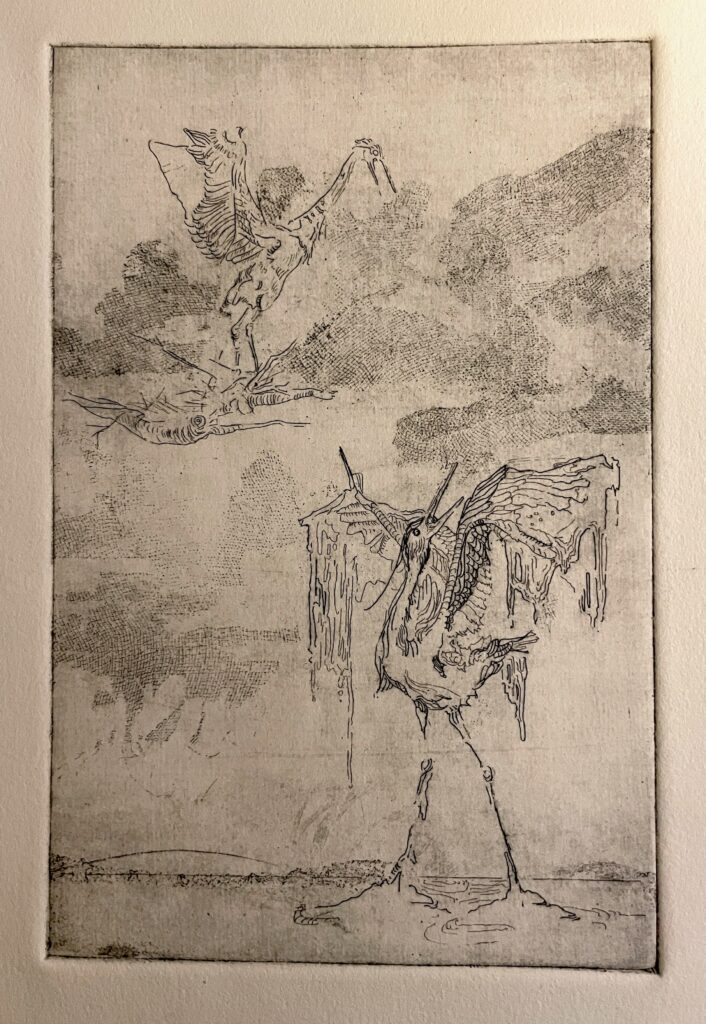
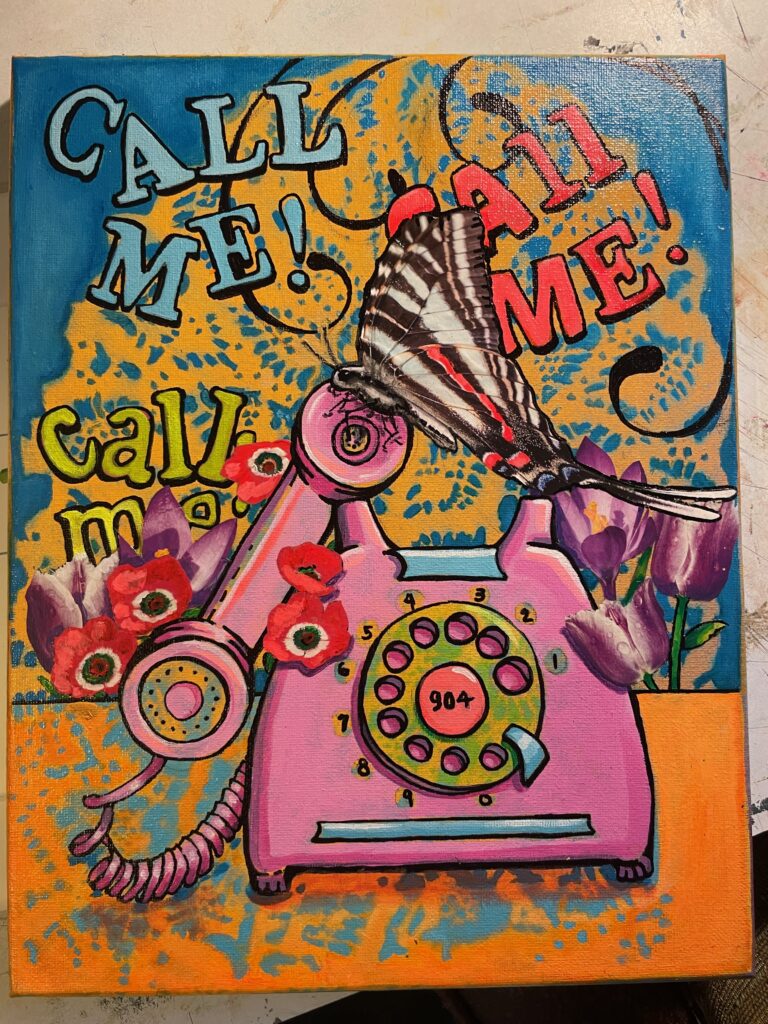
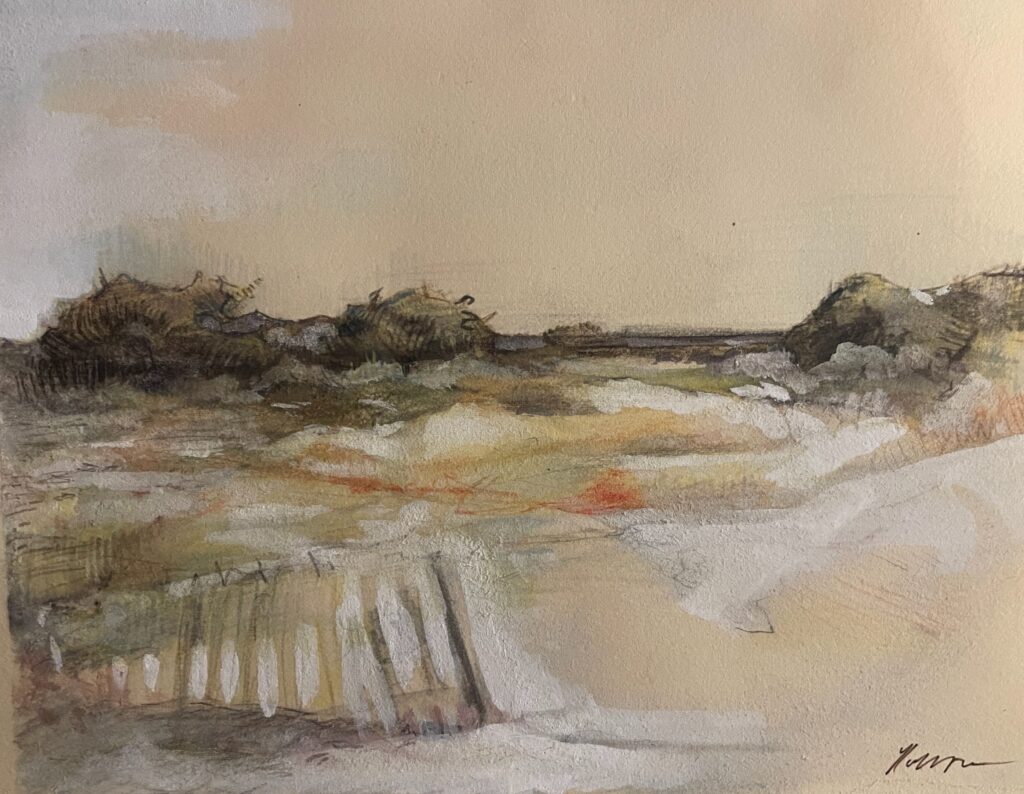
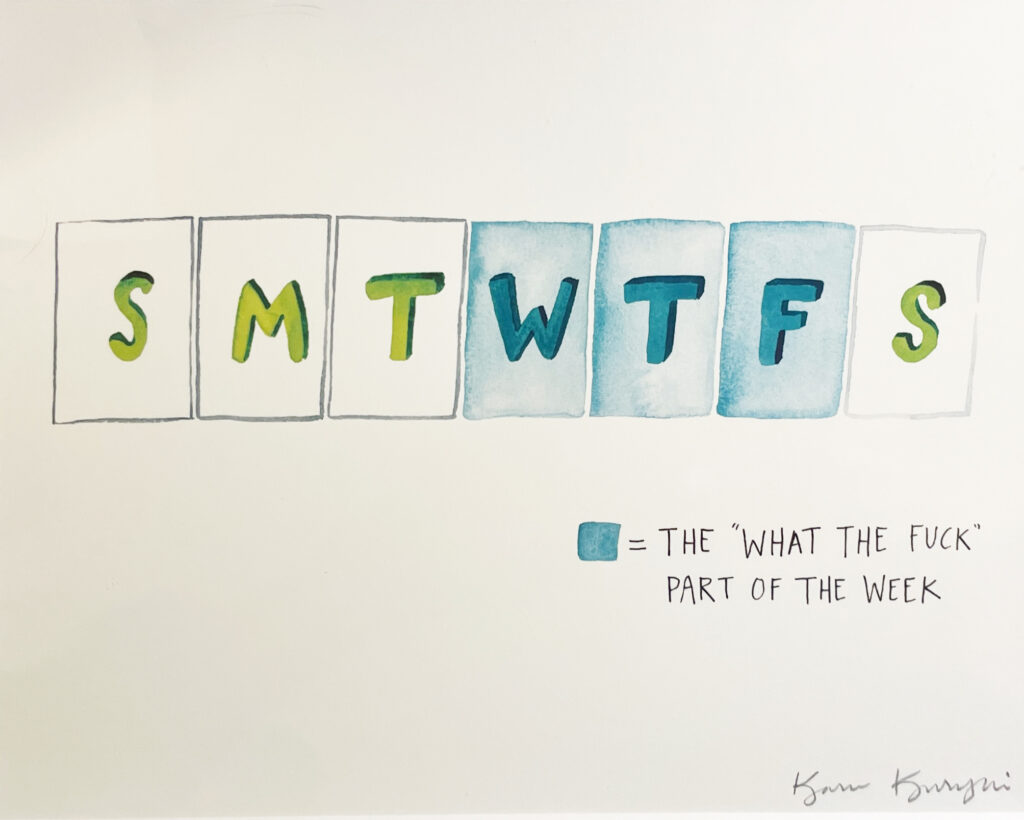
I’ve been entering shows, sometimes with new work, sometimes with old work. Most of the time they request that work be no older than 3 years and most of the time I obey. Occasionally, though, if a piece fits the theme I’ll go ahead and enter something older. After all, it’s not like I don’t still want to sell it! The pieces I’ve shared with the public lately: